Prototype manufacturing isn’t one process. The right way to make one fit-check part is rarely the right way to make 50 parts for a field trial or 500 for a pilot build. Quantity, material, geometry, and timeline each push toward a different process, and choosing well at each stage saves money and keeps test results meaningful as the design moves toward production.
Here’s how the main prototype manufacturing processes compare and where each fits.
Start with what the prototype has to prove
Before choosing a process, decide what the prototype is for:
- Form and fit: does it look right and fit the assembly? Material properties matter less.
- Function: does it hold load, seal, flex, or survive heat? Material and process need to match production closely.
- User or market testing: does it feel and look like the real product? Cosmetics and quantity matter.
- Pilot or bridge production: will these parts ship or support early builds? Repeatability and inspection matter most.
One to ten parts
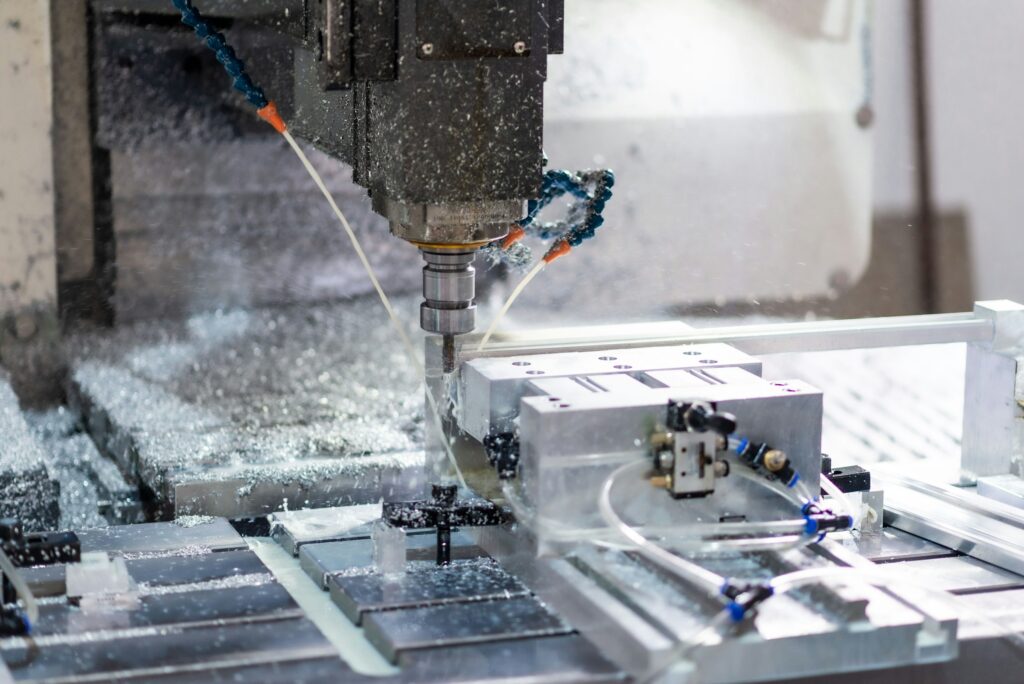
CNC machining is the default for functional prototypes in small quantities. Parts come from the same metals and engineering plastics used in production, hold tight tolerances, and need no tooling. Unit cost drops sharply as quantity rises from one to five, because programming and setup are spread across more parts. Our CNC machining network handles this range daily.
Sheet metal prototypes are laser cut and press-brake formed with no hard tooling, so a prototype bracket or enclosure is made the same way the production part will be. See our sheet metal fabrication page.
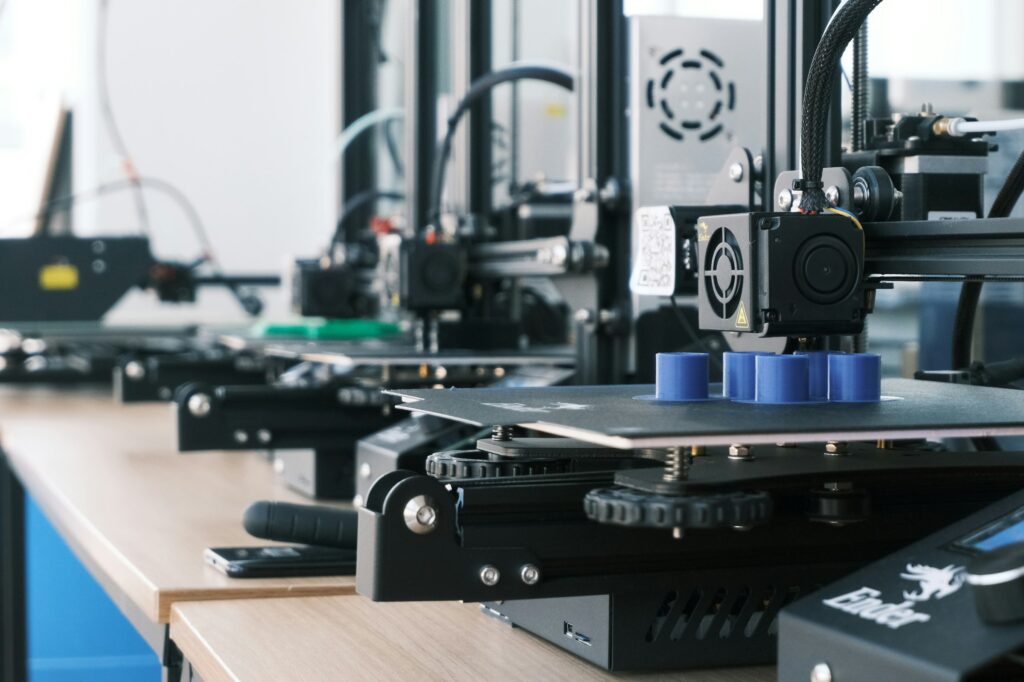
3D printing fits early form studies and geometry that would be difficult to machine. It’s fast for a single part but usually doesn’t match production material properties. Our additive manufacturing page covers the options.
Ten to a few hundred parts
Urethane casting (also called vacuum casting) is often the best fit for 10 to a few hundred plastic parts that need to look and feel like molded production parts. A master model is used to make a silicone mold, and polyurethane resins that mimic ABS, polycarbonate, nylon, or rubber are cast into it. A standard silicone mold yields roughly 50 castings, more durable mold materials can reach several hundred, and multiple molds can be made from one master. Molds cost a fraction of injection mold tooling, and parts are often ready in about two weeks.
Machining at higher quantities stays competitive for metal parts and for plastics with simple geometry. The cost per part keeps falling with quantity, and there’s no tool to wait for.
Hundreds to a few thousand parts
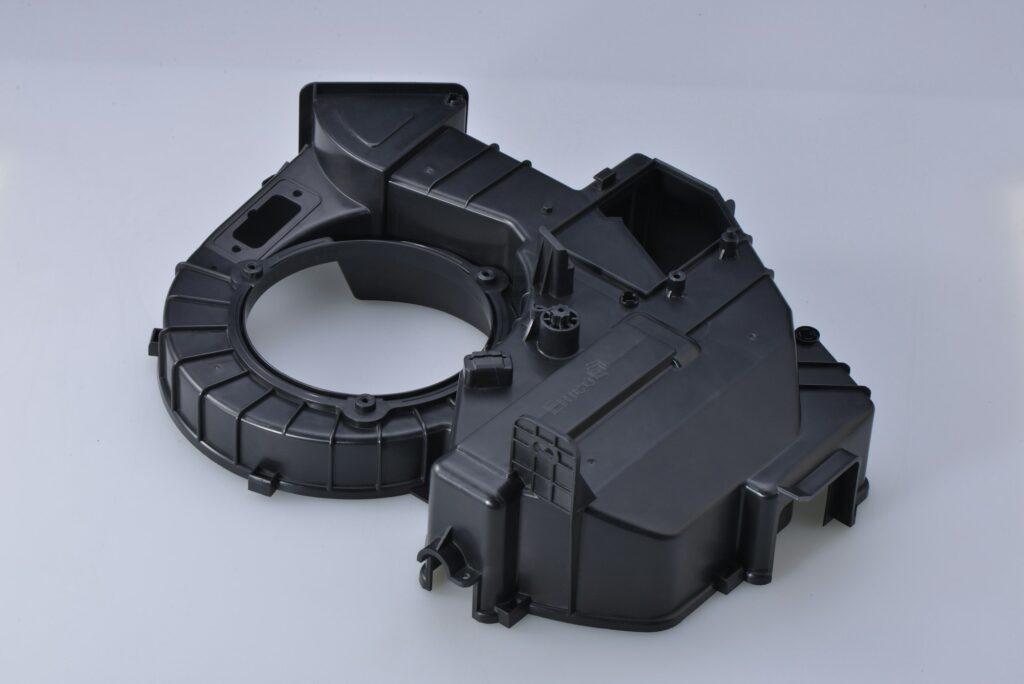
Aluminum soft tooling, also called bridge or rapid tooling, is an injection mold built from aluminum instead of hardened steel. It costs less and builds faster than a production steel tool, and it produces real molded parts in production resin. Soft tools are commonly rated for thousands of shots. They’re ideal for pilot builds, regulatory testing on molded parts, and covering demand while a production tool is built. We covered that use in Bridge Production: How to Keep Your Program Moving.
Production tooling becomes the right choice once the design is stable and volumes justify it. Steel molds can run from several thousand dollars to six figures depending on size and complexity, so lock the design before cutting steel. See our injection molding page.
Prototype manufacturing at a glance
| Process | Typical quantity | Materials | Strengths | Trade-offs |
|---|---|---|---|---|
| CNC machining | 1 to hundreds | Production metals and plastics | Real material, tight tolerances, no tooling | Cost per part stays relatively high |
| Sheet metal (laser + brake) | 1 to thousands | Steel, stainless, aluminum | Same process as production | Limited to sheet geometry |
| 3D printing | 1 to dozens | Printing polymers and metals | Complex shapes, fast single parts | Properties differ from production |
| Urethane casting | 10 to a few hundred | Resins simulating ABS, PC, nylon, rubber | Molded look and feel, low mold cost | Not true production resin |
| Aluminum soft tooling | Hundreds to thousands | Production thermoplastics | Real molded parts, faster than steel | Limited tool life |
Plan the path, not just the next prototype
The most expensive prototype is one that has to be redesigned for production. If a plastic part will be injection molded, keep walls uniform and add draft even in machined or cast prototypes so test results carry over. If a metal part will move from machining to casting or sheet metal at volume, prototype in that process as early as the design allows. Our post on Prototype to Production: When to Make the Switch covers the timing.
That path matters in medical device programs, where design changes after verification testing are costly, and in commercial products, where launch dates depend on bridge parts arriving before production tools are ready.
How PE supports prototype manufacturing
PE coordinates CNC machining, sheet metal, urethane casting, soft tooling, and production molding through one network, so a part can move from a first prototype to production without changing suppliers or project managers. Our engineering team recommends the process for each stage based on quantity, material, and what the prototype needs to prove, and every part is inspected in San Clemente before it ships.
Frequently asked questions
For one to ten functional parts, CNC machining is usually best because it uses production materials and needs no tooling. For plastic parts in quantities of 10 to a few hundred, urethane casting is often more economical.
A standard silicone mold typically yields around 50 castings. More durable mold materials can reach several hundred, and additional molds can be made from the same master.
Bridge tooling is a lower-cost injection mold, usually aluminum, used to produce real molded parts in the hundreds to thousands while a production steel tool is built or while demand is still uncertain.
Send us the drawings.
A real person will contact you within 24 hours.